


AI Customer Service
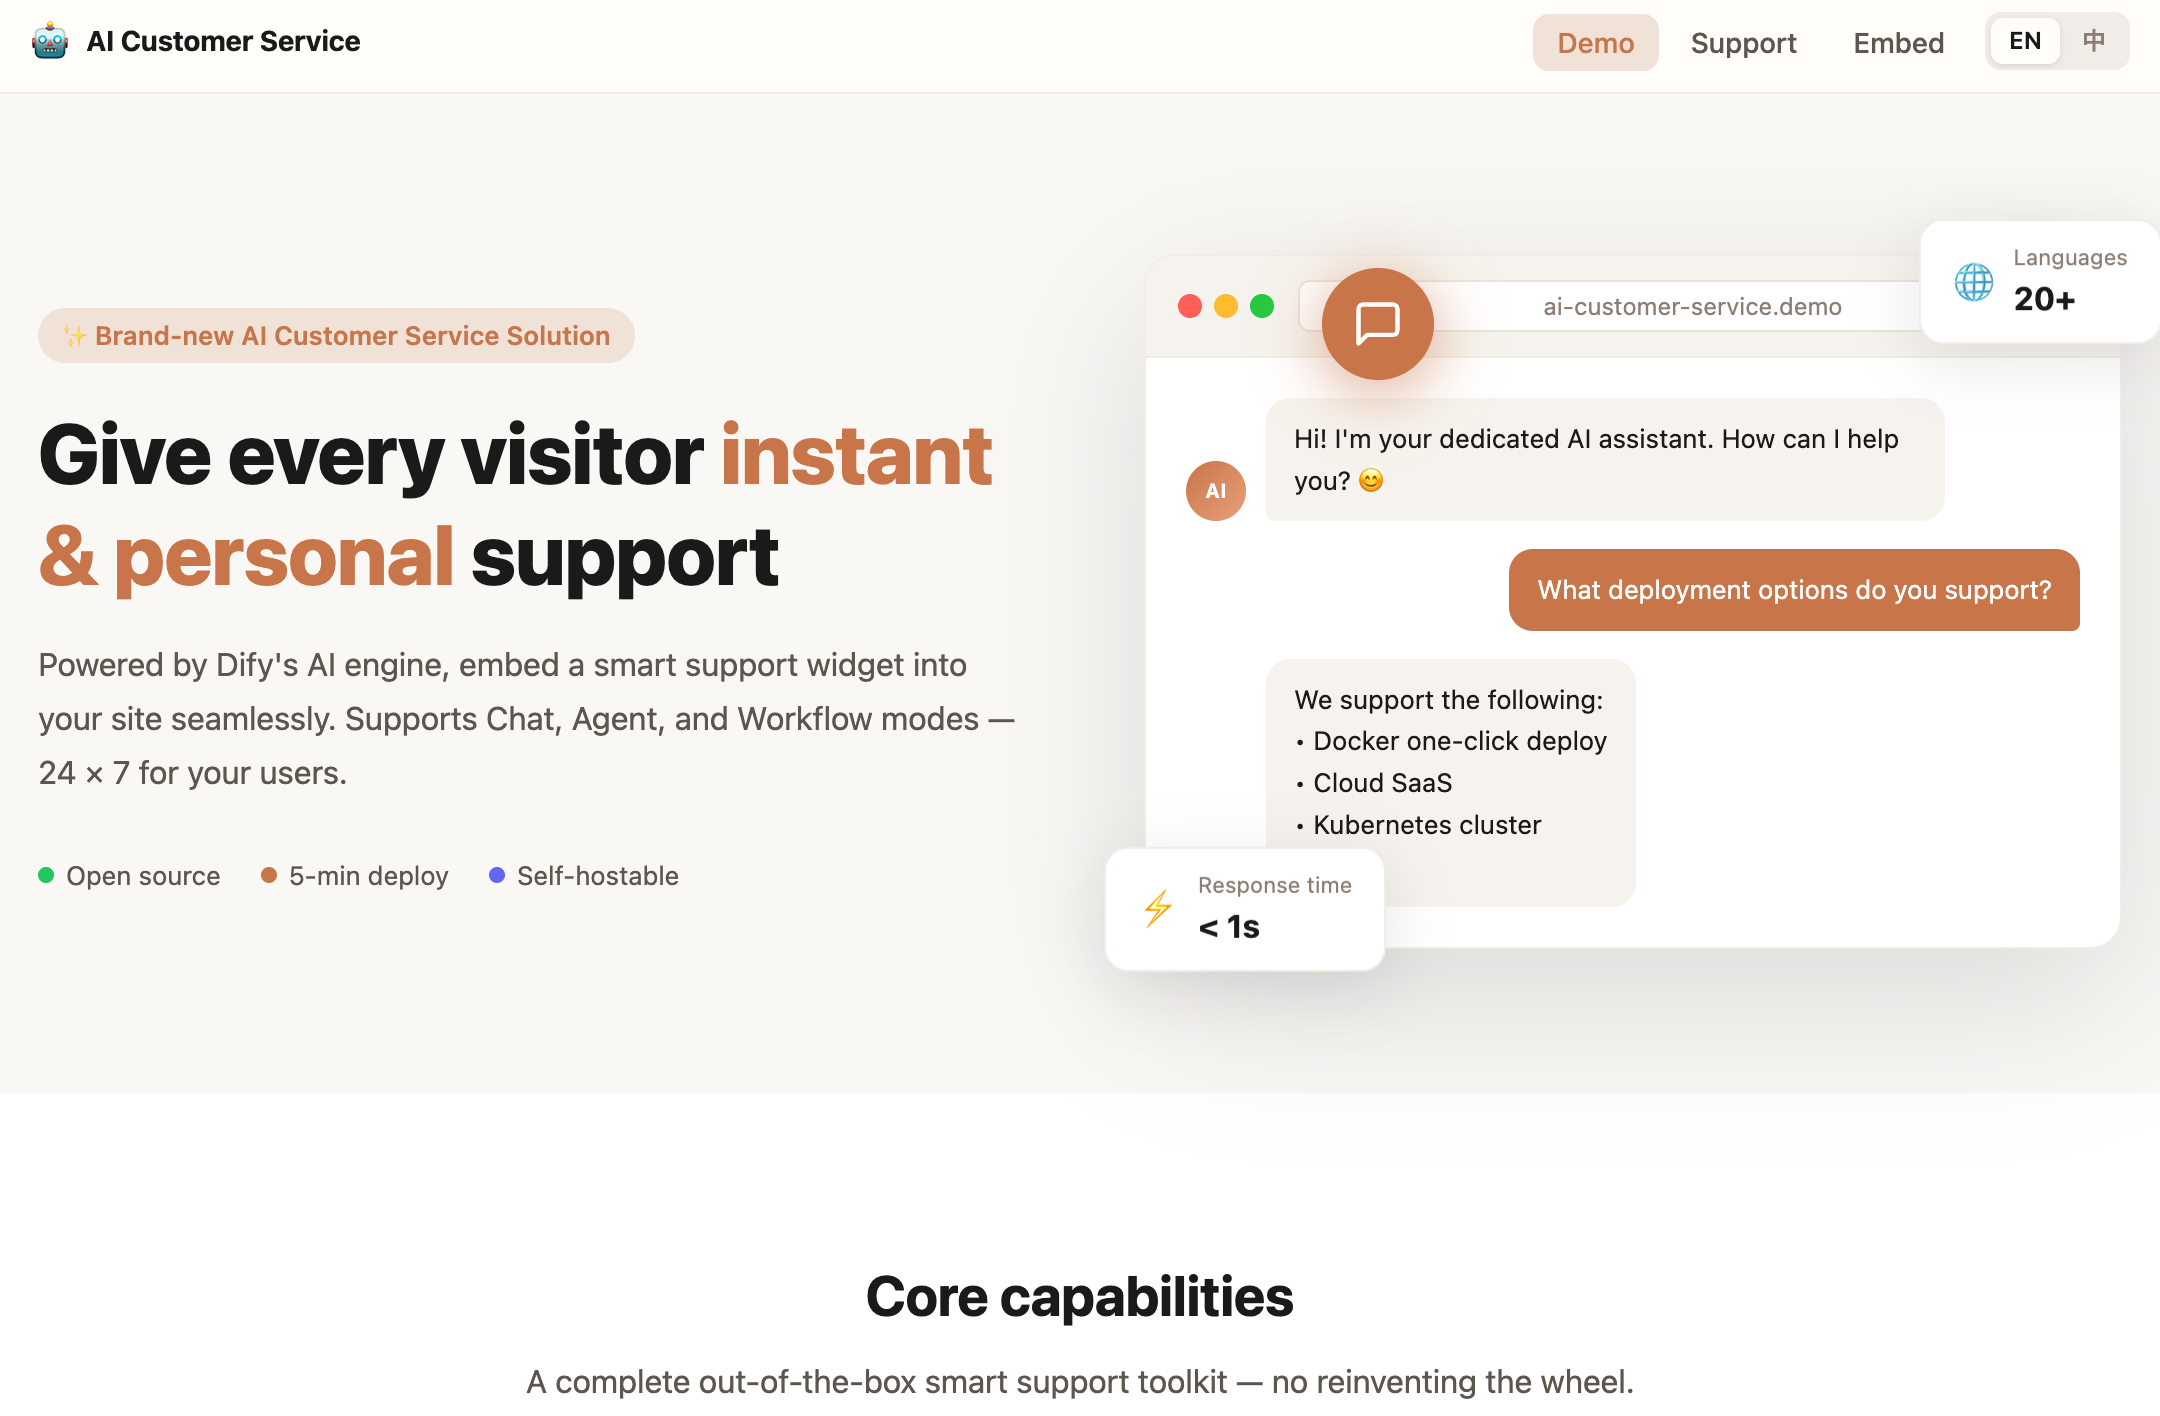
An open-source AI customer service frontend template built on Dify. Supports Chat, Agent, and Workflow app types, offering both a full-page support center and an embeddable floating widget.

AI Customer Service — Dify Web Template
An open-source AI customer service frontend template built on Dify. Supports Chat, Agent, and Workflow Dify app types, offering both a full-page support center and an embeddable floating widget — ready to deploy in 5 minutes.
Features
| Feature | Description |
|---|---|
| Multi-mode Support | Auto-detects Dify app type: Chat / Agent / Workflow — no manual config needed |
| Full-page Support Center | /support route with conversation history sidebar, ideal for standalone support pages |
| Embeddable Widget | Draggable floating widget that can be embedded into any third-party website with a single config change |
| iframe Embed Entry | /embed route provides a stable embed URL with cross-origin support |
| File Upload | Supports images, documents, and other attachments — AI can understand and respond to the content |
| Voice Interaction | Built-in TTS (text-to-speech) and STT (speech-to-text) input |
| Conversation History | Automatically saves chat history with multi-conversation switching |
| Internationalization | Built-in English and Chinese, i18n architecture supports additional languages |
| Streaming Response | SSE (Server-Sent Events) streaming output for instant visibility |
Tech Stack
- Framework: Next.js 16 (App Router) + React 19
- Language: TypeScript
- Styling: Tailwind CSS + CSS Modules
- AI Backend: Dify API (self-hosted or cloud)
- Streaming Protocol: SSE (Server-Sent Events)
- Internationalization: i18next + react-i18next
- License: MIT
Quick Start
1. Clone the Project
git clone https://github.com/your-org/ai-customer-service.git
cd ai-customer-service
npm install
2. Configure Environment Variables
Create a .env file in the project root and fill in your Dify app details:
# Your Dify app API Key (found in Dify Console → App → API Access)
APP_KEY=app-xxxxxxxxxxxxxxxxxxxxxxxxxxxxxxxx

# Dify API URL (change to your instance URL if self-hosted)
API_URL=https://api.dify.ai/v1

# Optional: force a specific app type, leave blank for auto-detection
# Valid values: chat | agent | workflow | completion
NEXT_PUBLIC_APP_TYPE=
3. Start the Dev Server
npm run dev
Visit http://localhost:3000 to see it in action.
4. Build for Production
npm run build
npm run start
Page Routes
| Route | Description |
|---|---|
/ | Demo homepage: simulated product landing page with a draggable support widget in the bottom-right corner |
/support | Full-page support center: includes a conversation history sidebar on the left |
/embed | Embed entry: designed for iframe integration, compact layout without a navigation bar |
Embed Integration Guide
/embed is a stable entry point designed for third-party website integration, offering two embedding methods.
Method 1: iframe Embed (Cross-origin)
Insert the following code into your webpage HTML:
<iframe
  src="https://your-domain.com/embed"
  width="400"
  height="600"
  frameborder="0"
  allow="microphone"
  style="border-radius: 12px; box-shadow: 0 4px 24px rgba(0,0,0,0.15);"
></iframe>
Parameter Notes:
src: Replaceyour-domain.comwith your deployed domainwidth/height: Adjust freely to fit your layout; recommended 400×600allow="microphone": Required if you need voice input functionality
Use Cases: Cross-origin integration, scenarios requiring strict JS environment isolation — e.g., embedding support into a standalone website, marketing page, or documentation site.
Method 2: Floating Widget Component (Same-origin / React Projects)
If your website is also built with Next.js / React, you can directly reuse this project's DraggableWidget component to render a draggable floating support widget in the bottom-right corner. The demo homepage (/) uses this approach.
Step 1: Copy the app/components/draggable-widget/ directory into your project.
Step 2: Import it in your page or Layout:
import DraggableWidget from '@/components/draggable-widget'

export default function YourPage() {
  return (
    <>
      {/* Your page content */}
      <main>...</main>

      {/* Bottom-right floating widget — change embedUrl to your deployed support URL */}
      <DraggableWidget embedUrl="https://your-domain.com/embed" />
    </>
  )
}
Props:
| Prop | Type | Default | Description |
|---|---|---|---|
embedUrl | string | "/embed" | The iframe URL to embed; change to your deployed support URL |
title | string | i18n default | The name displayed in the widget title bar |
Widget Interaction:
- Appears in the bottom-right corner by default, initially expanded
- Drag the title bar to move freely; boundary detection ensures the panel stays fully within the viewport
- Click the
—minimize button to collapse into an orange circular button; click again to expand - On mobile (width ≤ 480px), automatically switches to a full-screen bottom drawer style
Embed Page Language Handling
The /embed page reads the default_language field from Dify app parameters (/v1/parameters) during initialization and automatically syncs the UI language — no need to pass language via URL parameters.
Project Structure
app/
├── api/                    # Next.js API Routes (Dify request proxy — keeps API Key hidden from the browser)
│   ├── chat-messages/      # Streaming chat endpoint
│   ├── conversations/      # Conversation management
│   ├── file-upload/        # File upload
│   ├── messages/           # Message history & feedback
│   ├── workflows/          # Workflow execution
│   ├── meta/               # App metadata
│   └── parameters/         # App parameters
├── components/
│   ├── customer-service/   # Core support components (message list, input box, conversation sidebar)
│   ├── draggable-widget/   # Draggable floating widget container
│   ├── nav-bar/            # Navigation bar (includes language switcher)
│   ├── product-demo/       # Demo homepage content
│   └── base/               # Common UI base components
├── embed/
│   └── page.tsx            # /embed entry page
├── support/
│   └── page.tsx            # /support full-page support page
├── page.tsx                # / demo homepage
└── layout.tsx              # Root Layout (i18n, language detection)

i18n/
├── lang/
│   ├── app.en.ts           # English translations
│   └── app.zh.ts           # Chinese translations
└── i18next-config.ts       # i18next initialization config

config/
└── index.ts                # App configuration (API URL, etc.)

types/
└── app.ts                  # Global TypeScript type definitions
Adding Languages
Adding a new language takes just three steps:
- Create a new translation file in
i18n/lang/, e.g.,app.ja.ts(follow the structure ofapp.en.ts) - Register the new language in the
resourcesobject ini18n/i18next-config.ts - Add the language option to the
LOCALESarray inapp/components/nav-bar/index.tsx
Environment Variables
| Variable | Required | Description |
|---|---|---|
APP_KEY | ✅ | Dify app API Key |
API_URL | ✅ | Dify API base URL, defaults to https://api.dify.ai/v1 |
NEXT_PUBLIC_APP_TYPE | Optional | Force a specific app type; leave blank for auto-detection (chat / agent / workflow / completion) |
License
MIT © 2025