


How to Add Forms to Your Website with Formspree?
Adding a form to your website sounds simple enough. But once you start thinking about the backend, things get complicated. You need to set up a server, handle submissions, send email notifications, filter out spam, and store the data somewhere. That's a lot of work for a simple contact form.
Formspree takes care of all that. It's a form backend service that receives your form submissions and routes them wherever you need.
Why Formspree?
- No backend required. Point your form to a Formspree endpoint and you're done.
- Spam protection. Built-in filtering keeps your inbox clean.
- Multiple integrations. Get notified via Email, Discord, Slack, or send data directly to Google Sheets, Airtable, and more.
In this guide, you'll learn how to set up Formspree and integrate it into a Next.js application with a working code example.
Getting Started with Formspree
1. Create Your Account
Head over to formspree.io and sign up for a free account. The free tier includes 50 submissions per month, which is plenty for most personal projects and small websites.
2. Create a Form Endpoint
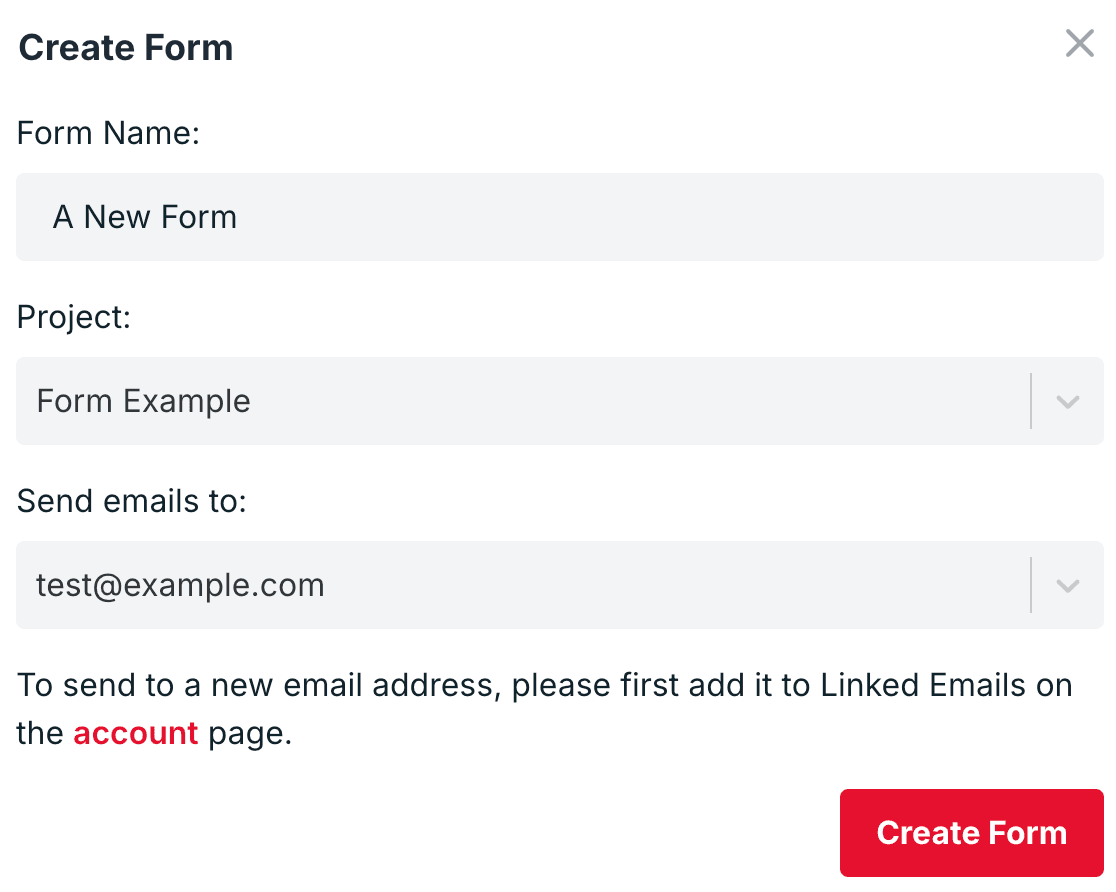
Once logged in:
- Click Add New -> New Form in your dashboard
- Give your form a name (e.g., "Contact Form")
- Formspree generates a unique endpoint URL like https://formspree.io/f/xyzabcde
Note: The last part of this URL ( xyzabcde ) is your Form ID. You'll need this when integrating with your website.
3. Integration Options
Formspree works with any tech stack. From the dashboard, you can see code examples for different integration methods:
- HTML: Traditional form with action attribute
- AJAX: JavaScript fetch/XHR requests
- React: Using the official @formspree/react library
For static HTML sites, you can literally copy-paste the HTML snippet and it works. For modern React/Next.js apps, the React library provides a better developer experience with hooks and state management.
Using Formspree in Next.js
Let's build a contact form in Next.js using the official Formspree React library.
1. Setup
Install the package:
npm install @formspree/react2. Building the Form Component
Create a new component file components/ContactForm.jsx :
import { useForm, ValidationError } from '@formspree/react';

function ContactForm() {
  const [state, handleSubmit] = useForm("xyzabcde"); // Replace with your Form ID

  if (state.succeeded) {
    return <p>Thanks for your message! We'll get back to you soon.</p>;
  }

  return (
    <form onSubmit={handleSubmit}>
      <div>
        <label htmlFor="name">Name</label>
        <input
          id='name'
          type="text"
          name="name"
          required
        />
      </div>

      <div>
        <label htmlFor="email">Email</label>
        <input
          id='email'
          type="email"
          name="email"
          required
        />
        <ValidationError
          prefix="Email"
          field="email"
          errors={state.errors}
        />
      </div>

      <div>
        <label htmlFor="message">Message</label>
        <textarea
          id='message'
          name="message"
          rows="5"
          required
        />
        <ValidationError
          prefix="Message"
          field="message"
          errors={state.errors}
        />
      </div>

      <button type="submit" disabled={state.submitting}>
        {state.submitting ? 'Sending...' : 'Send Message'}
      </button>
    </form>
  );
}

export default ContactForm;
How it works:
- useForm hook takes your Form ID and returns the form state and a submit handler
- state.submitting is true while the form is being submitted
- state.succeeded becomes true after successful submission
- state.errors contains any validation errors from Formspree
- ValidationError component displays field-specific errors automatically
Now use the component in any page:
import ContactForm from '@/components/ContactForm';

export default function ContactPage() {
  return (
    <main>
      <h1>Contact Us</h1>
      <ContactForm />
    </main>
  );
}
That's it. Your form now sends submissions to Formspree, and you'll receive email notifications for each one.
3. Optional Enhancements
Environment Variables
Hardcoding the Form ID works fine, but using environment variables is cleaner. This is especially useful if you have different forms for development and production.
Create a .env.local file:
# Replace with your Form ID
NEXT_PUBLIC_FORM=xyzabcde
Then update your component:
const [state, handleSubmit] = useForm(process.env.NEXT_PUBLIC_FORM);Client-Side Validation
The example above uses basic HTML validation ( required , type="email" ). For more complex validation, consider libraries like React Hook Form or Zod alongside Formspree.
Spam Protection with reCAPTCHA
Formspree supports reCAPTCHA integration. Enable it in your form settings on the Formspree dashboard, then add the reCAPTCHA component:
import { useForm, ValidationError } from '@formspree/react';
import { useGoogleReCaptcha } from 'react-google-recaptcha-v3';

function ContactForm() {
  const { executeRecaptcha } = useGoogleReCaptcha();
  const [state, handleSubmit] = useForm("xyzabcde", {
    data: { "g-recaptcha-response": executeRecaptcha }
  });

  // ... rest of the form
}
Deploy to EdgeOne Pages in One Click
We've built a Next.js template with Formspree already integrated. It includes a contact form with basic validation and error handling out of the box. You can deploy it to EdgeOne Pages with a single click.
How to get started:
- Create a form on Formspree and copy your Form ID
- Click the deploy button below to open the deployment page
- In the environment variables section, set NEXT_PUBLIC_FORM with your Form ID
- Complete the deployment
It takes about 5 minutes from start to finish. From there, you can customize the form fields, styling, or add more forms to your site.
Got questions? Get in touch and we'll help you out.